The paths and URLs in this guide are examples. Be sure to replace them with the paths and URLs specific to your installation.
Click on any image for more detail
- Decompress Gallery by using WinZip (on Windows) or tar (command line *nix). When it's finished, you should have one main gallery/ directory under which all Gallery files are contained.
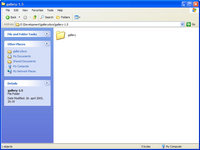
- Create two blank files in your favorite editor (e.g. Notepad, vi, emacs, nano, etc...) Call one .htaccess and the other config.php. Place these inside the base Gallery directory.
In Notepad, be sure to select "All Files (*.*)" when saving the file, so the file does not have a .txt suffix. .htaccess and config.php will not work if they have a .txt extension
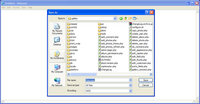
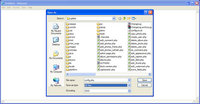
- Upload the Gallery directory (which should now include config.php and .htaccess) to your server using an FTP program (like WS_FTP, CuteFTP or Fetch. The documentation uses FlashFXP). Upload all files in BINARY mode. Also be sure to keep the directory tree and the case of filenames intact.
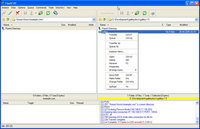
- Create a directory on your webspace called albums. Gallery will use this directory to store the albums you create and the images you upload to those albums. For ease, put the directory inside your Gallery directory.
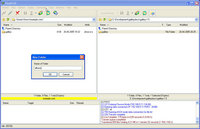
- Gallery requires some files and directories to be set writable by the web server.
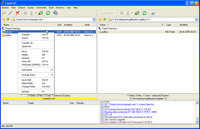
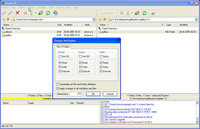 chmod 777 albums
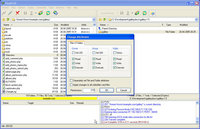 chmod 777 .htaccess
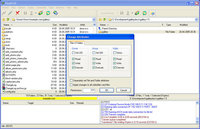 chmod 777 config.php
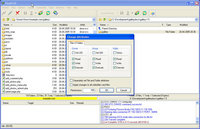 chmod 755 setup